Cómo hacer concreto estampado correctamente
El concreto estampado, también conocido como concreto impreso, es una técnica decorativa con la que podemos personalizar cualquier superficie de cualquier manera. Con ella, puedes imitar rápida y fácilmente la apariencia de materiales nobles como adoquines, ladrillos, piedra, azulejos, pizarra o madera, entre otros.
Un material muy versátil que encontramos con frecuencia en áreas públicas como aceras, carreteras, plazas, parques o centros comerciales. Pero también es muy común encontrarlo en porches, terrazas y entradas a áreas residenciales. Por lo general en exteriores, pero últimamente el uso del concreto estampado en interiores está ganando popularidad. Sobre todo en pavimentos estampados de grandes almacenes y espacios como estacionamientos, gimnasios, hoteles, centros comerciales y restaurantes.
Pero, ¿cómo se hace el concreto estampado? Lo primero que debes saber, es que el método de aplicación varía en función de la superficie donde se quiera aplicar este revestimiento. En este sentido, el tratamiento en pisos y paredes no es el mismo, aunque los resultados finales sí sean igual de espectaculares.
A continuación, explicamos cómo hacer concreto estampado en pisos y pavimentos y cómo aplicar concreto estampado vertical en paredes, fachadas y muros.
Cómo hacer concreto estampado en pisos: aplicación paso a paso
El uso de concreto estampado en pisos, tanto en interiores como en exteriores, es el uso más común de este recubrimiento. Muchos de los pavimentos estampados más impactantes pueden ser encontrados en parques, terrazas, plazas, parkings de estacionamiento en exteriores, exteriores de centros comerciales o entradas a áreas residenciales.
En esta sección te explicamos cómo se hace el concreto estampado en pisos y pavimentos, paso a paso, para garantizar el éxito en la obra. Cometer un error en alguno de los pasos puede ser fatal.
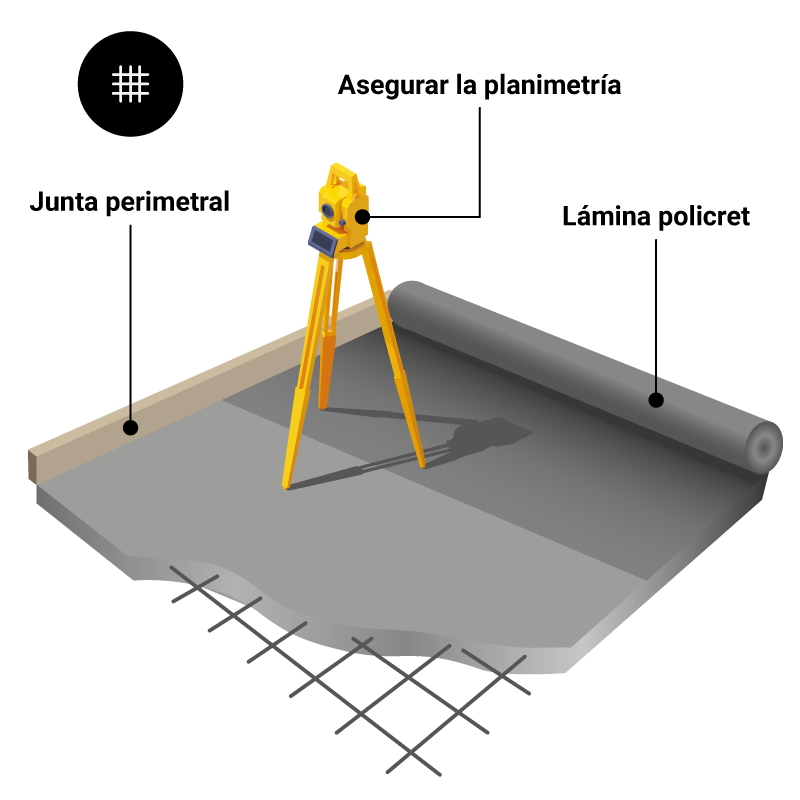
1. Preparar el pavimento antes de verter concreto
Es esencial que el terreno donde se vierta el concreto fresco esté en perfectas condiciones, ya que afecta directamente al comportamiento y a la durabilidad del futuro pavimento estampado. Para hacerlo, la superficie debe estar libre de cualquier elemento que pueda ser un obstáculo como hojas o piedras. Solo de esta manera se garantiza una superficie limpia y de calidad.
Para asegurar la planimetría del pavimento de concreto estampado, el nivel y la inclinación del terreno debe estar preparada. Se aplicará sobre la base una película de lámina plástica Policret calibre 400 para evitar la deshidratación del concreto, y se colocará una junta perimetral para delimitar las áreas que se van a rellenar con concreto mediante la colocación de un cajón de cimbra.
Antes de aplicar el concreto sobre el pavimento, es esencial vertir la grava (15 cm) y la arena (2 cm) y compactar el soporte.
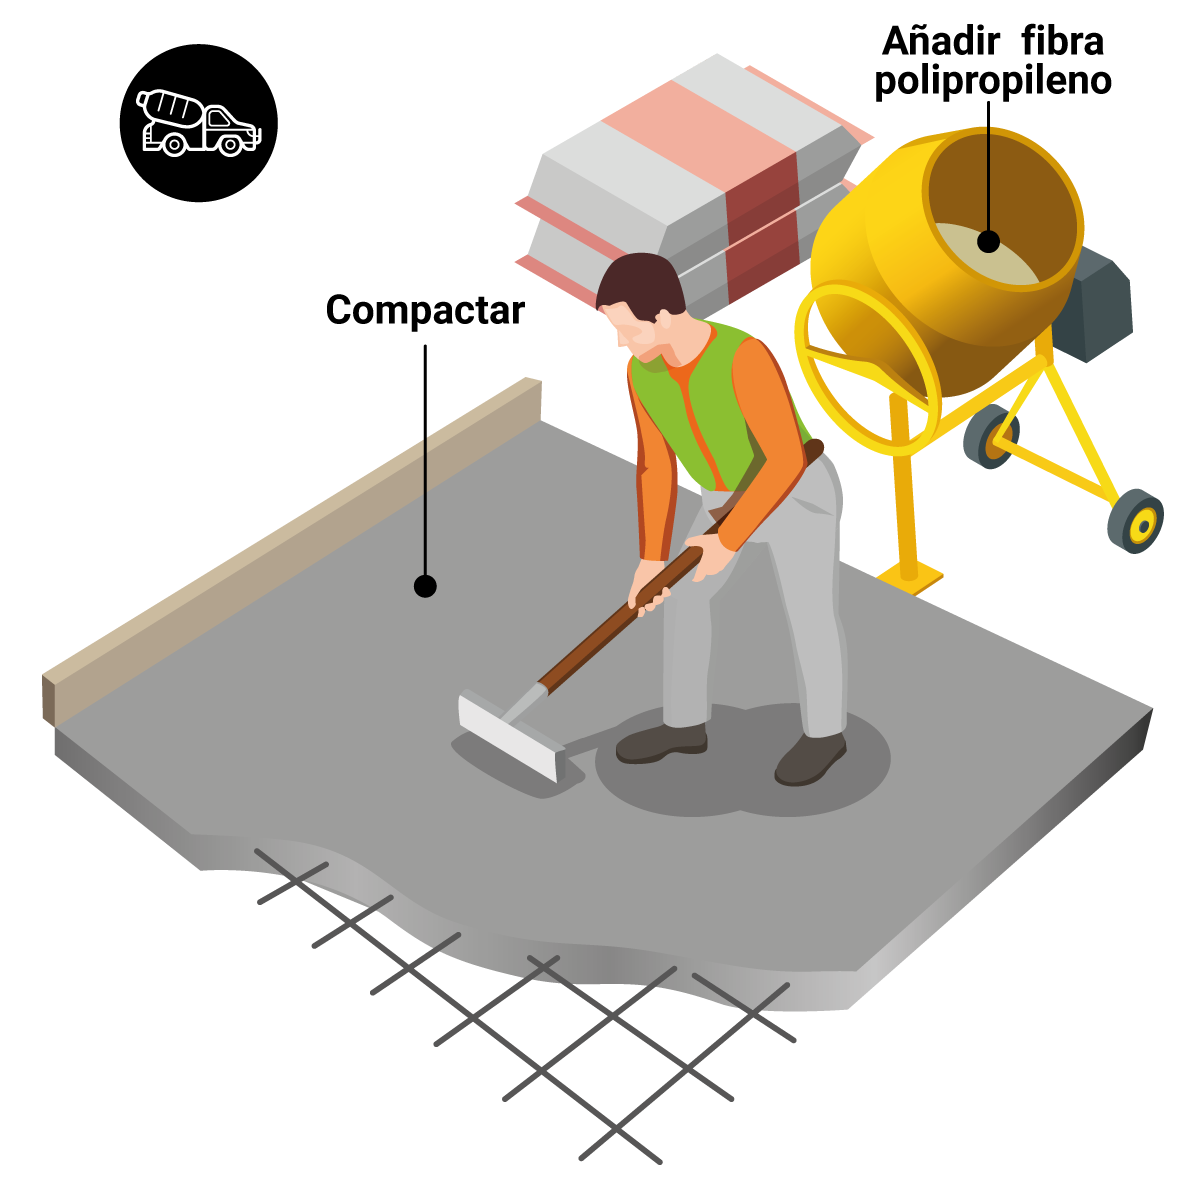
2. Verter el concreto en el suelo
Una vez que el soporte esté listo, es hora de vertir el concreto de manera uniforme para evitar futuros problemas. La capa de concreto debe estar perfectamente nivelada y compactado. Añade fibras de propileno al concreto para mejorar su resistencia. También se deben usar malla de acero y junta en todos los perímetros y encuentros con elementos fijos.
Si ocurriera cualquiera de los siguientes casos, el vertido de concreto en el piso o pavimento debe ser interrumpido:
Si se anticipa una posible caída de las temperaturas, por debajo de los 0ºC, durante las primeras 48 horas.
Si la temperatura del concreto es menor a los 10ºC o si la temperatura ambiente supera los 30ºC.
Si hay viento excesivo. Una condición que puede provocar la desecación de la superficie.
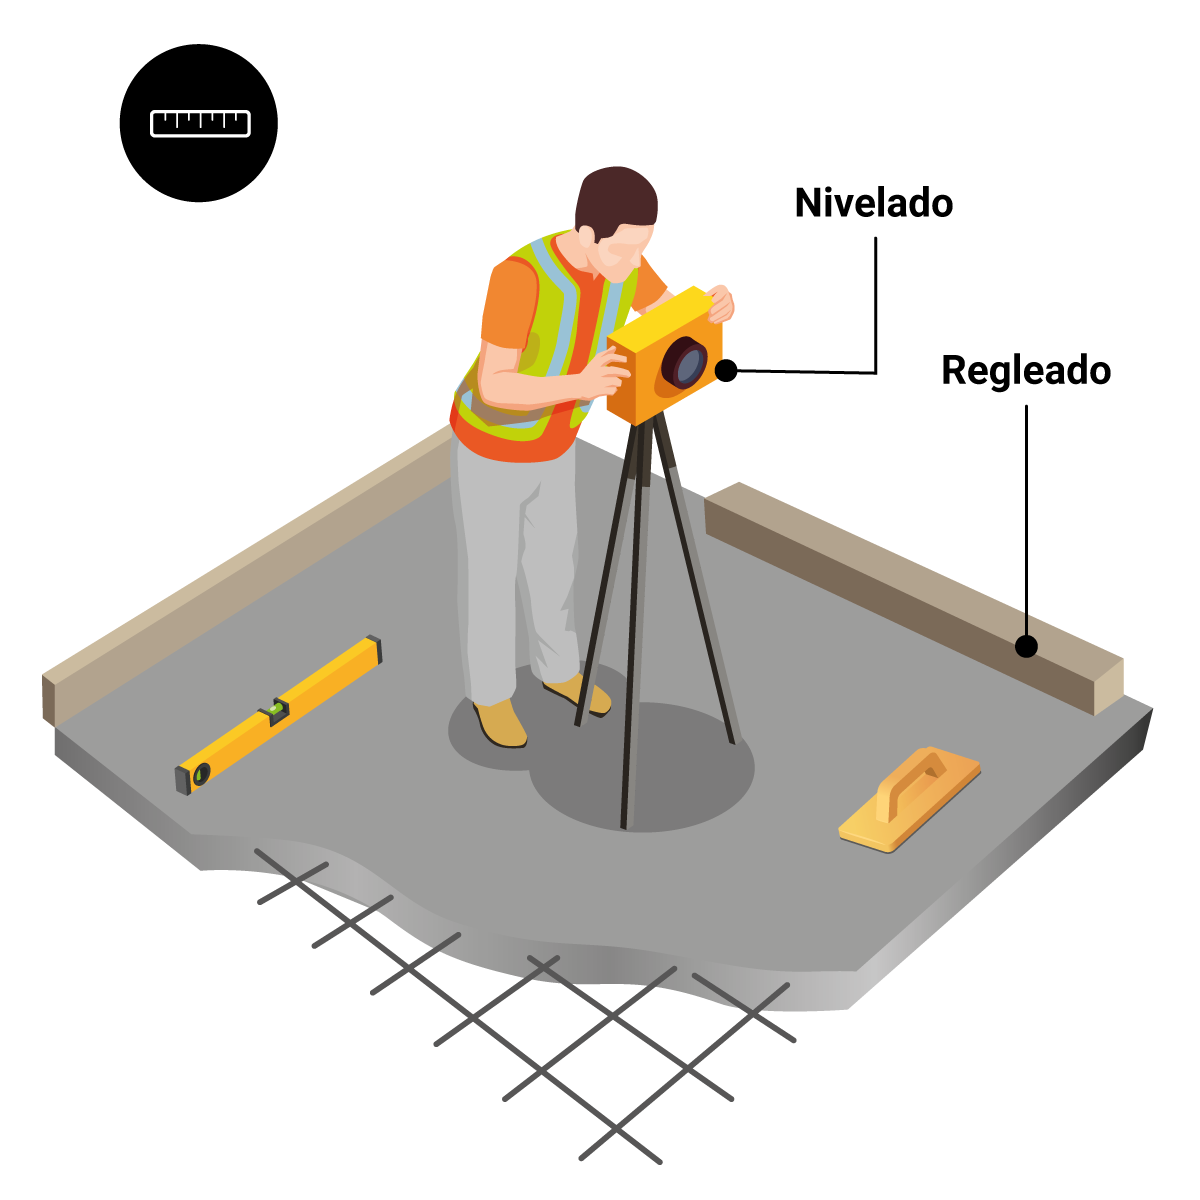
3. Nivelado y regleado del concreto aplicado en el piso
Usa un rodillo para compactar y sangrar el concreto. Para alisar o nivelar el piso de concreto, debes utilizar una llana o niveladora. Para hacer concreto estampado correctamente, es esencial que en el regleado no haya vibración mecánica.
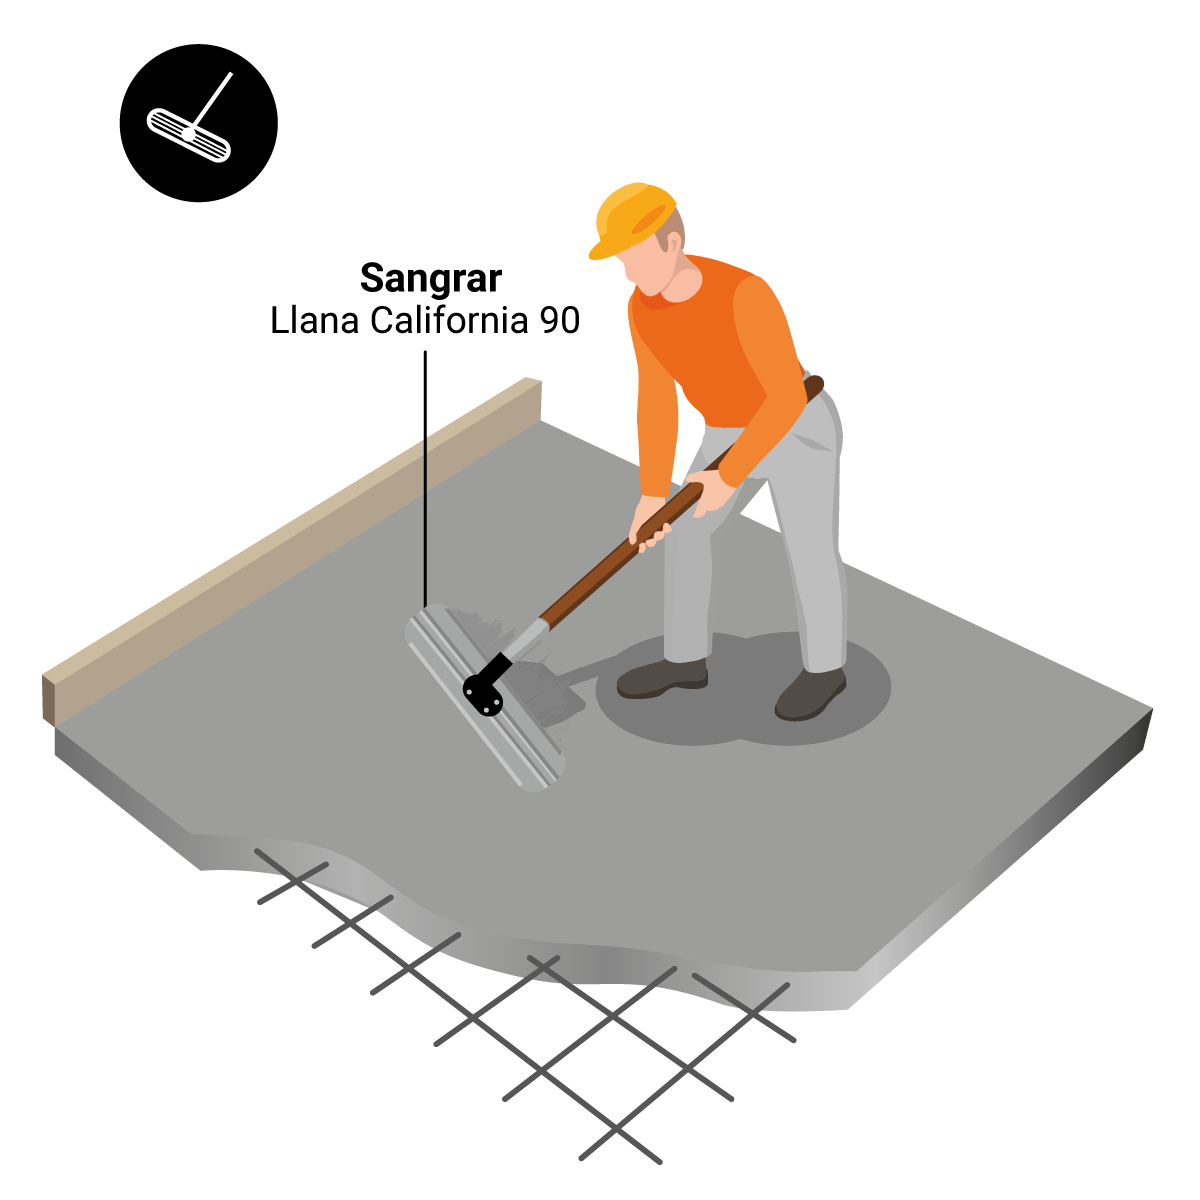
4. Fratasado del concreto
Con el concreto aún fresco, realizar el alisado para obtener un pavimento uniforme, compacto, resistente, liso y duradero. Saltarse este paso podría ocasionar la aparición de ampollas y laminación por un exceso de humedad.
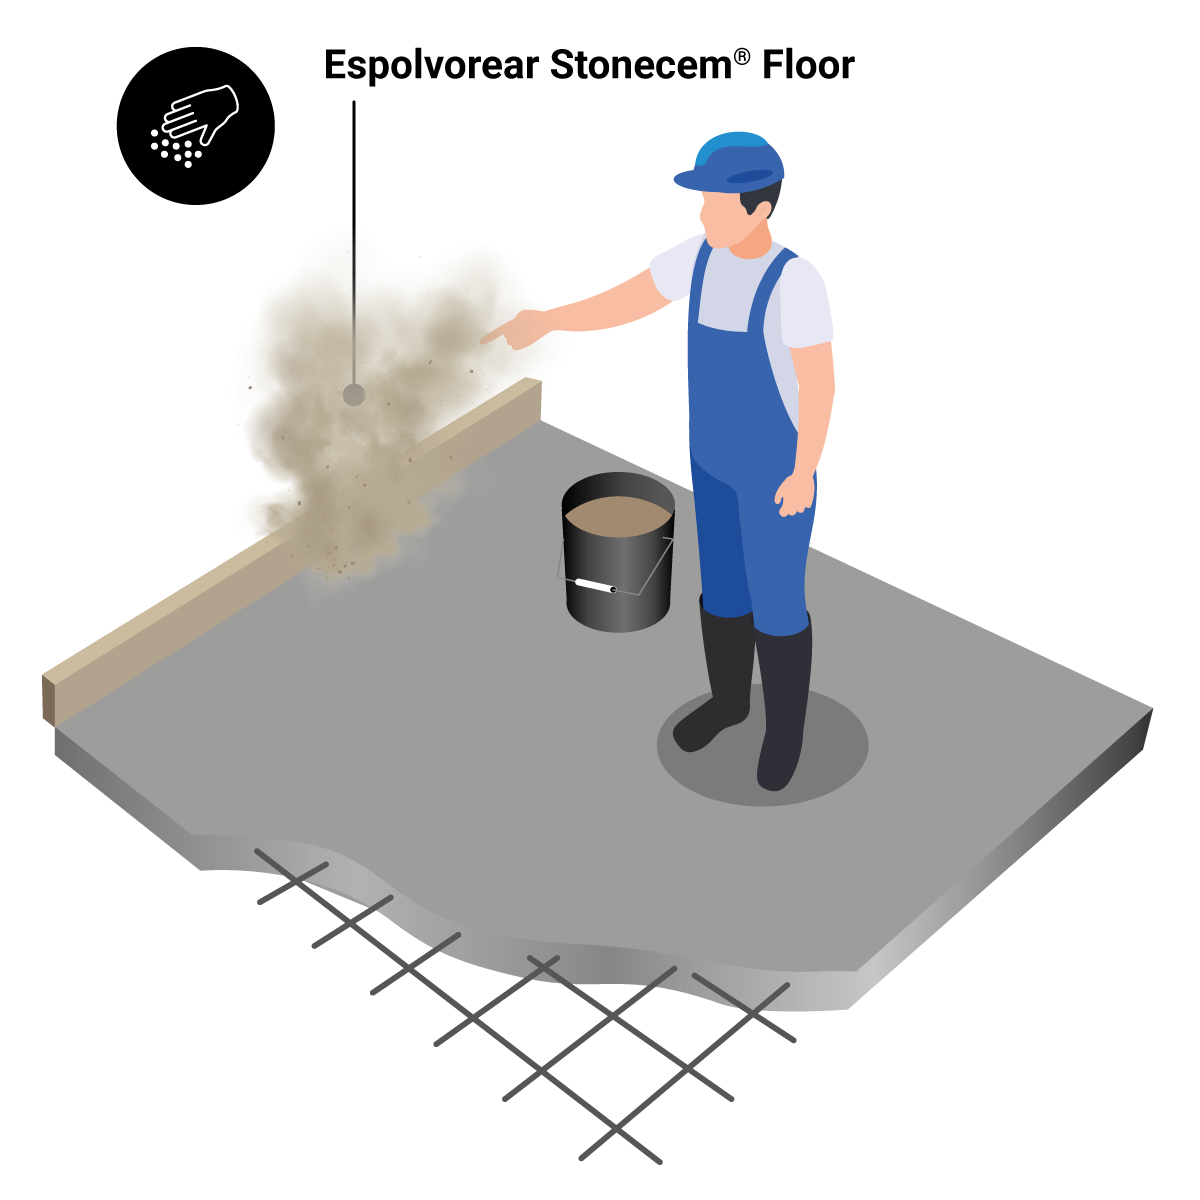
5A. Espolvorear el endurecedor de color o mortero impreso sobre el pavimento
Una vez se haya evaporado el agua de exudación del concreto, espolvorea el endurecedor de color correspondiente o el mortero impreso sobre el pavimento. En nuestro caso, Stonecem® Floor con una proporción desde 4 Kg/m² para colores oscuros hasta 6 Kg/m² para colores claros.
Para hacer concreto estampado en pisos, es muy importante espolvorear la cantidad exacta de producto. De otro modo, el resultado del piso de concreto estampado no será el deseado.
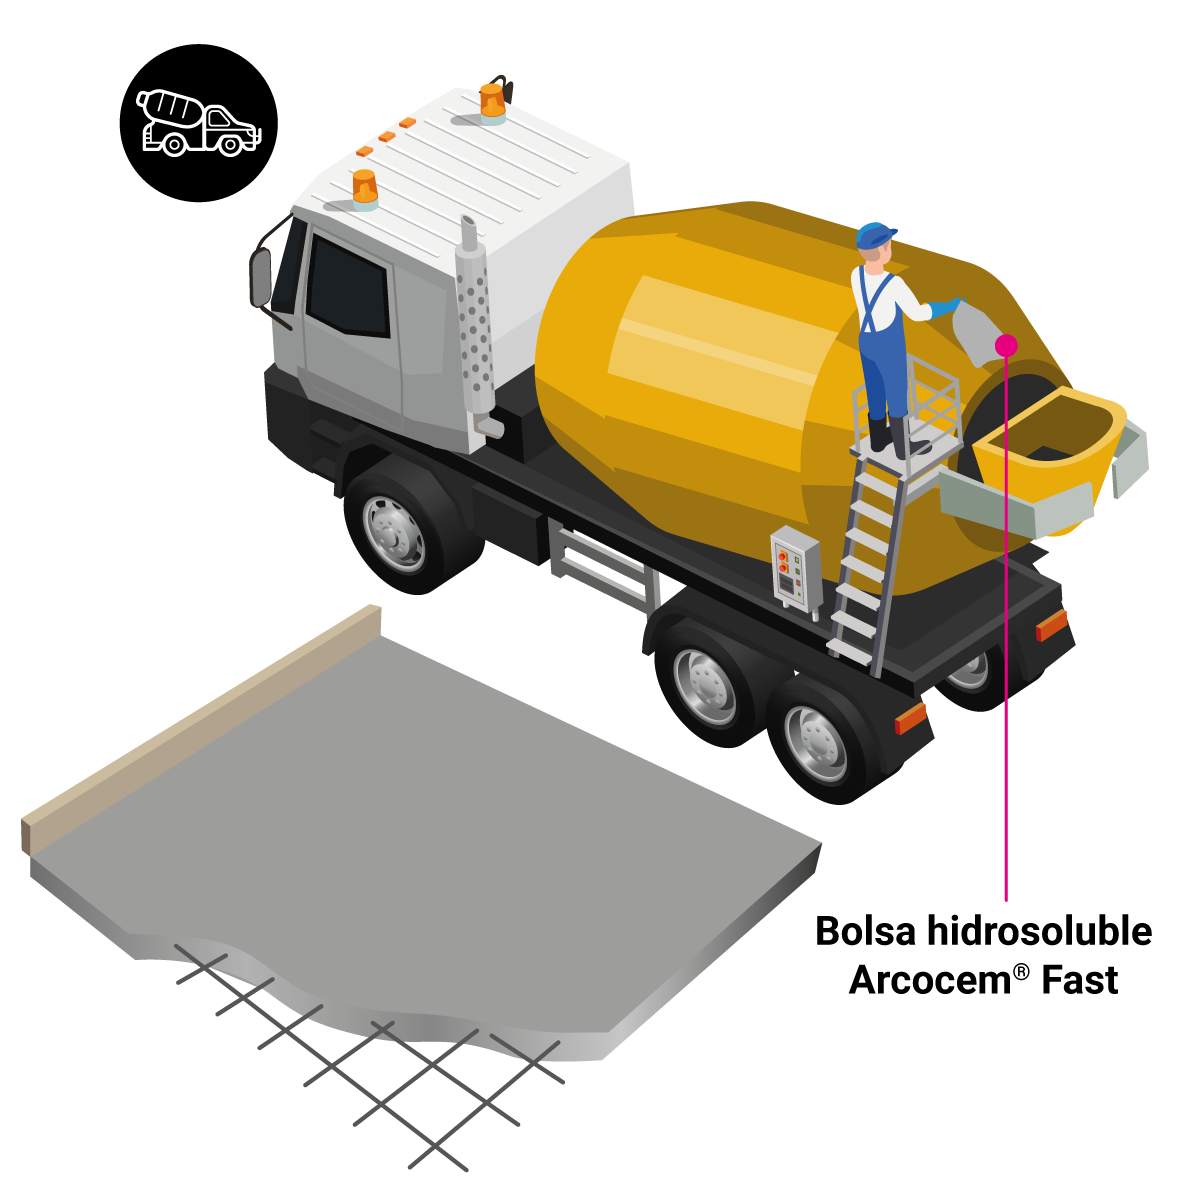
5B. Coloración del concreto en masa
Además del espolvoreo, que es la técnica tradicional para pigmentar el pavimento de concreto, otro sistema es utilizar un pigmento en polvo como Arcocem® Fast. Este método consiste en introducir en la mezcladora de concreto dos bolsas por cada metro cúbico de superficie a cubrir. Dejamos cinco minutos para que el producto se mezcle con el concreto hasta lograr una masa homogénea y uniforme. Cuando ya esté, se vertería el concreto sobre el soporte.
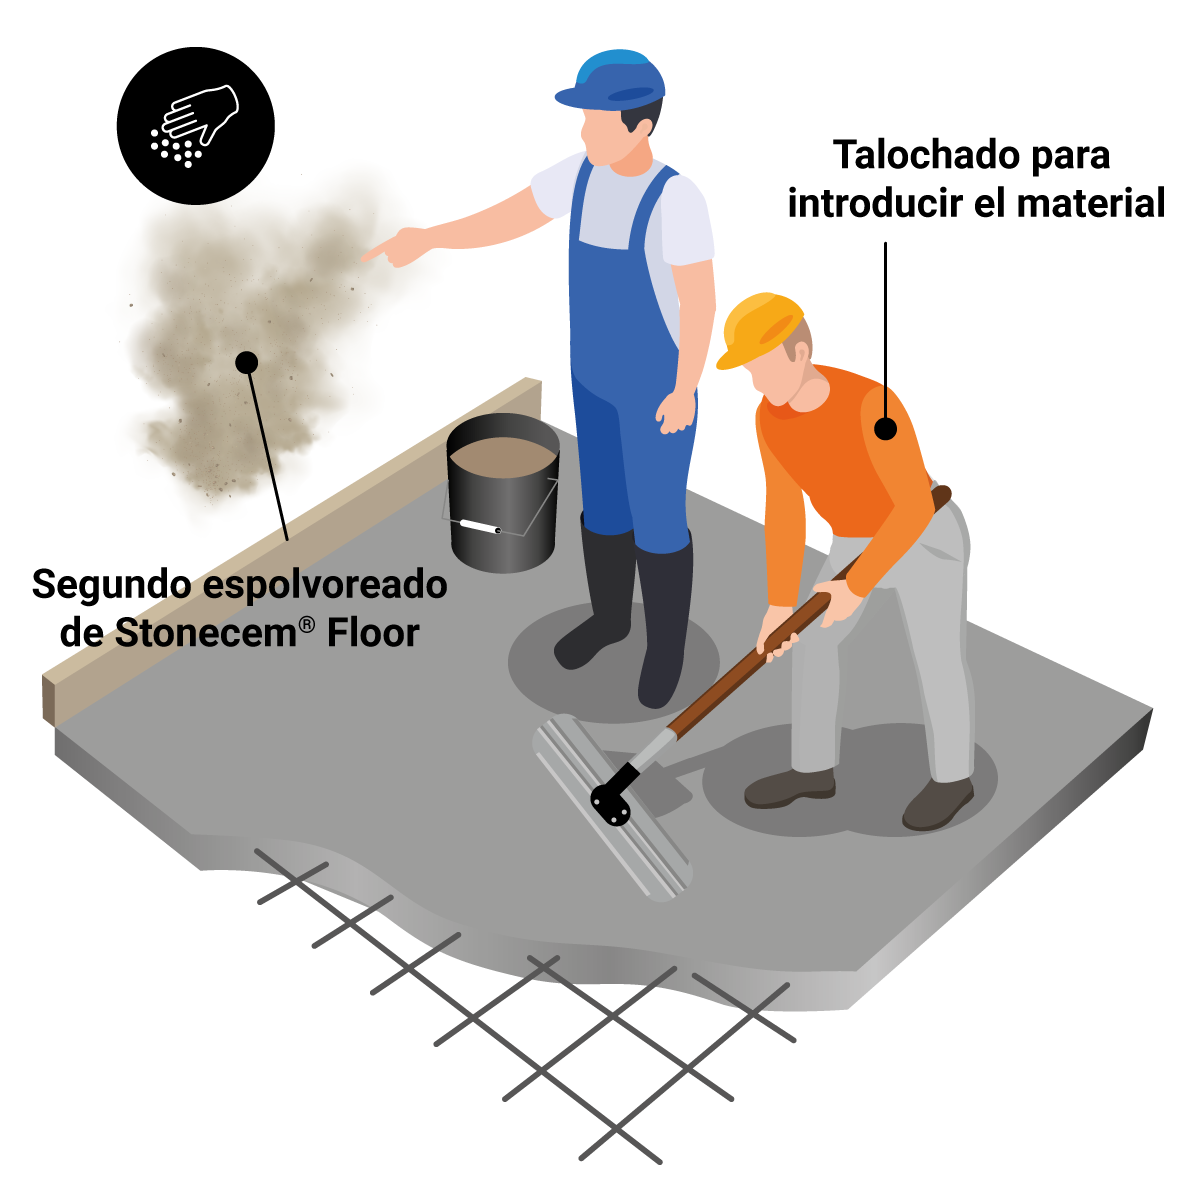
6. Fratasar el endurecedor de color o mortero impreso aplicado en el piso
Aplica 2/3 de la cantidad especificada de endurecedor de color o mortero impreso Stonecem® Floor e introduce el material en el concreto mediante una llana normalizada. Después, aplica el resto del producto y vuelve a proceder al alisado hasta lograr el acabado deseado.
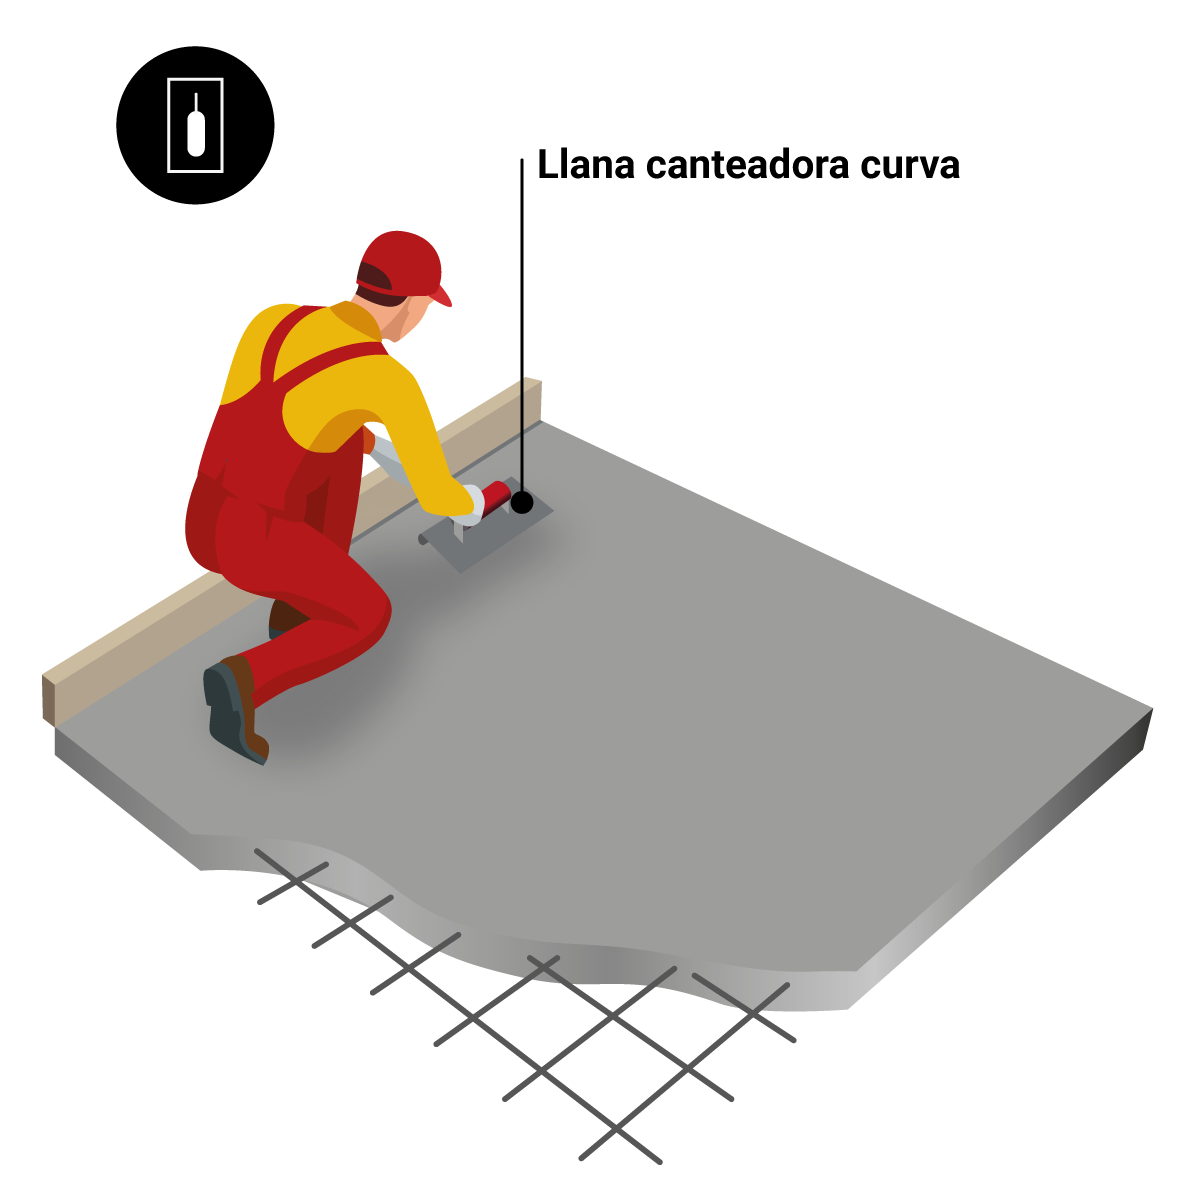
7. Alisar el futuro pavimento estampado
La superficie debe estar completamente alisada y sin irregularidades. Para esto, utiliza una llana de acero hasta que la superficie no tenga porosidad y sea totalmente homogénea. Repasa las esquinas del pavimento de concreto con una llana de cantos para evitar gravilla.
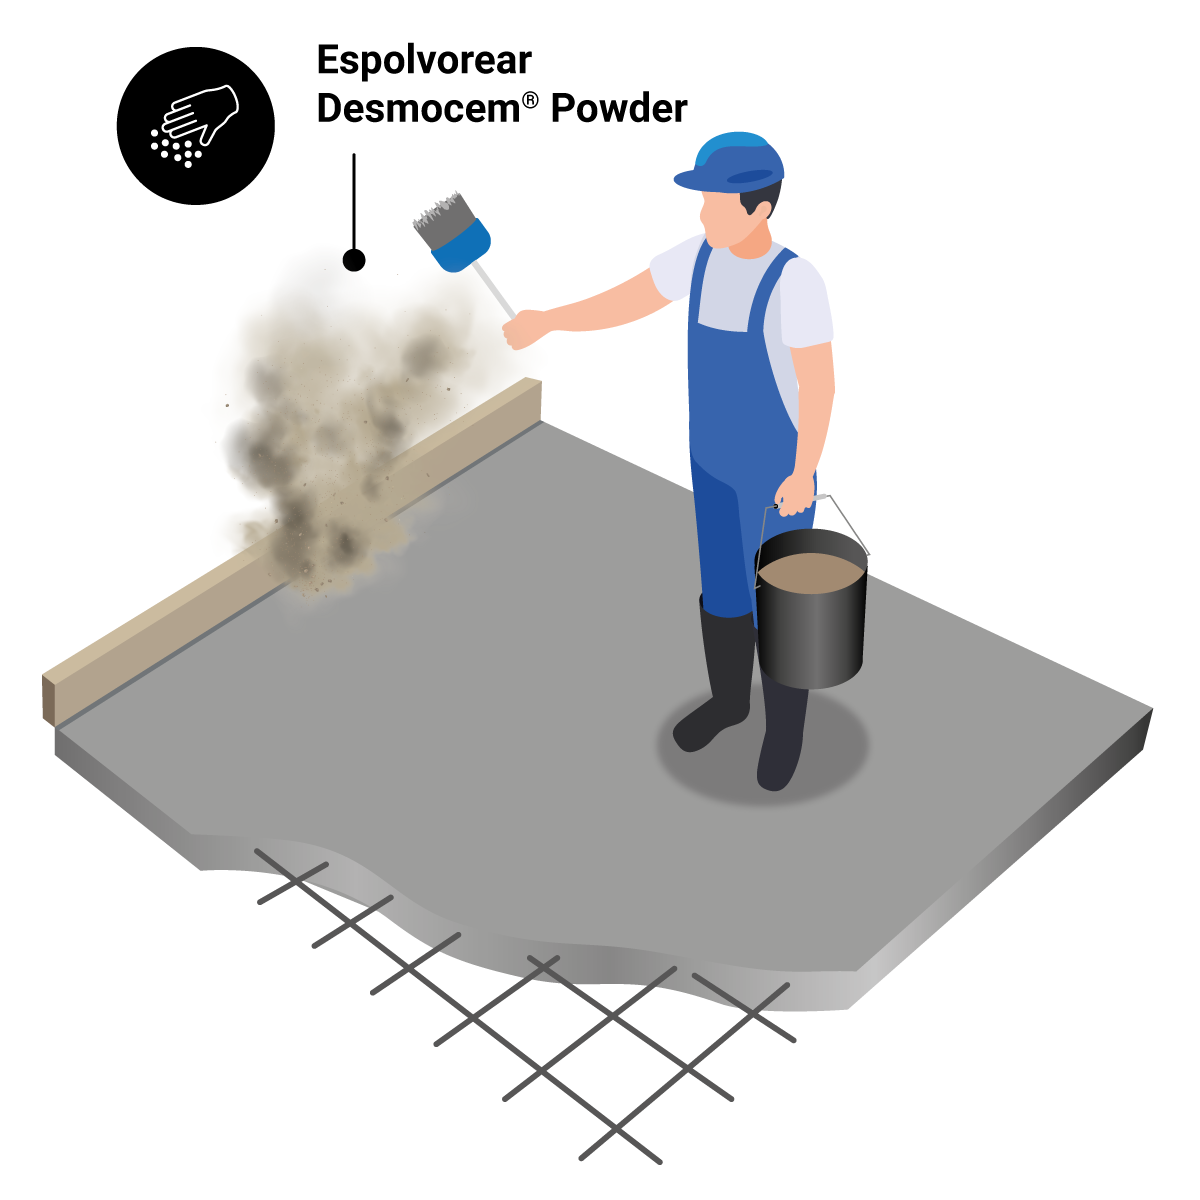
8. Aplicar el desmoldante para concreto estampado en el pavimento
Una vez que el mortero haya fraguado, asegura que el futuro pavimento estampado tenga una apariencia firme pero no dura. Y, por encima de todo, que la superficie no tenga nada de agua. Cuando se haya revisado, aplica el desmoldante para concreto estampado.
Dentro de la familia Desmocem®, tenemos los desmoldantes en polvo (Desmocem® Powder) y desmoldantes para concreto estampado líquidos (Desmocem® Liquid). Recomendamos utilizar el primero, excepto en espacios interiores.
Cabe destacar que el desmoldante en polvo para concreto estampado Desmocem® Powder lleva un color que puede ser de la misma tonalidad que el endurecedor de color, o diferente en caso de que busques lograr un efecto envejecido. Ambos favorecen la extracción del molde para concreto estampado una vez estampado en el pavimento. Las proporciones son: 100 gr/m² y 125 mL/m²
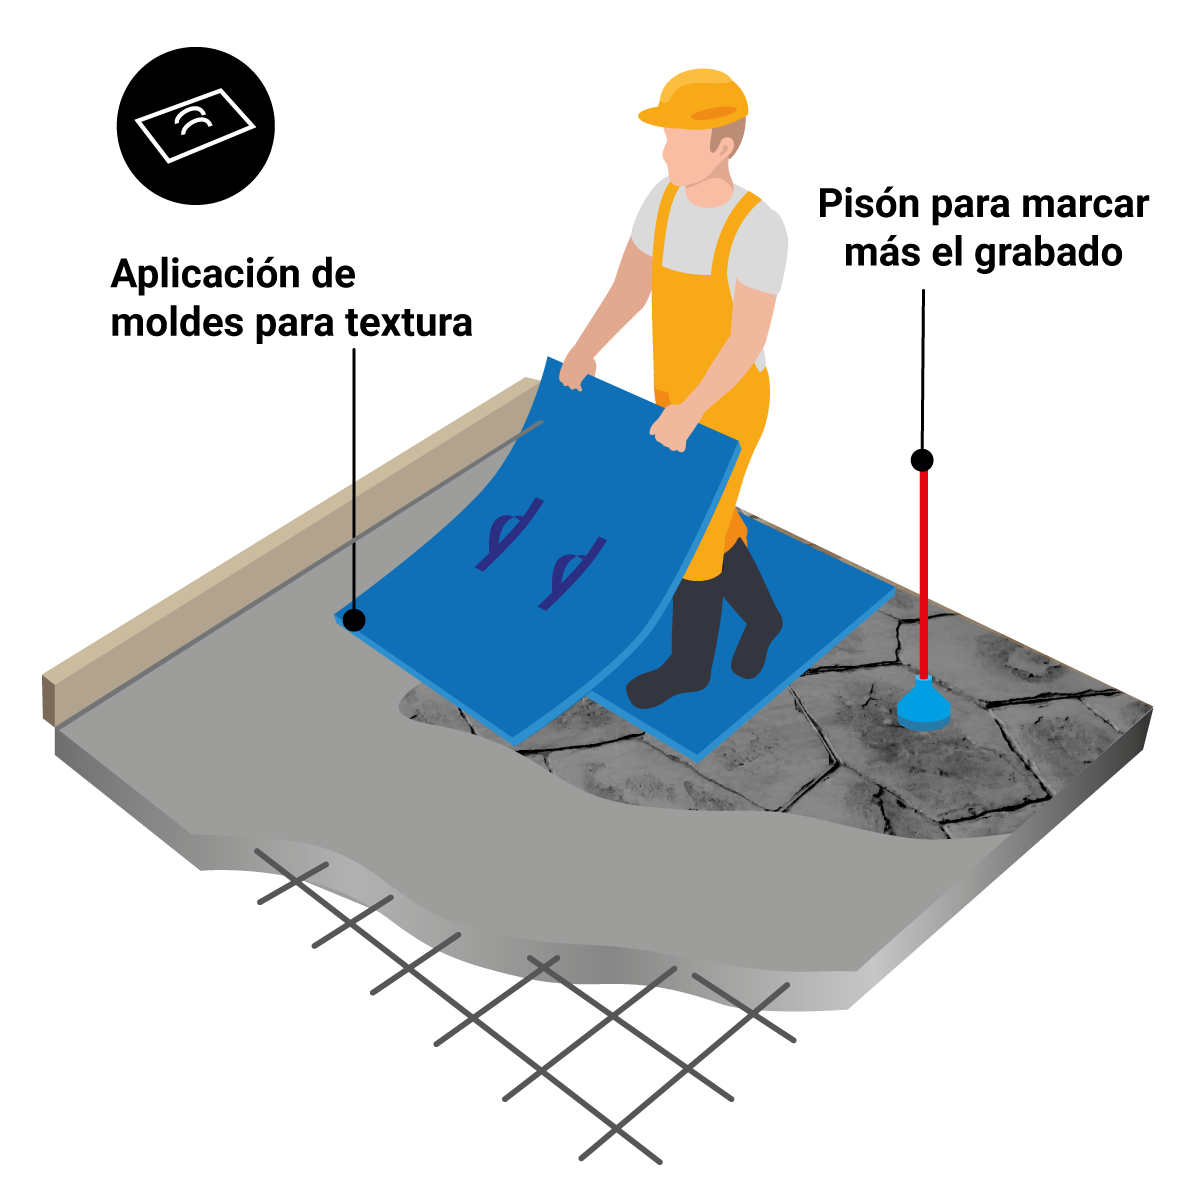
9. Imprimar el molde de concreto estampado en el suelo
Para ejecutar el concreto estampado en el suelo es imprescindible elegir un molde y estamparlo en la superficie. Sin este elemento, estaríamos hablando de otra técnica decorativa distinta. En Imacem, tenemos más de 150 tipos para impregnar al suelo de una forma determinada.
Una vez que el molde para el concreto estampado haya sido seleccionado, presiónalo sobre la superficie para estamparlo. La colocación del molde debe ser consecutiva y seguir la continuidad de las piezas. Utiliza un pisón para lograr más fácilmente el grabado.
Una vez hecho, procederemos a remover cuidadosamente el molde del pavimento y a colocarlo en el resto de la superficie no tratada del piso de concreto estampado. Es muy importante respetar el diseño creado para que el resultado sea óptimo.
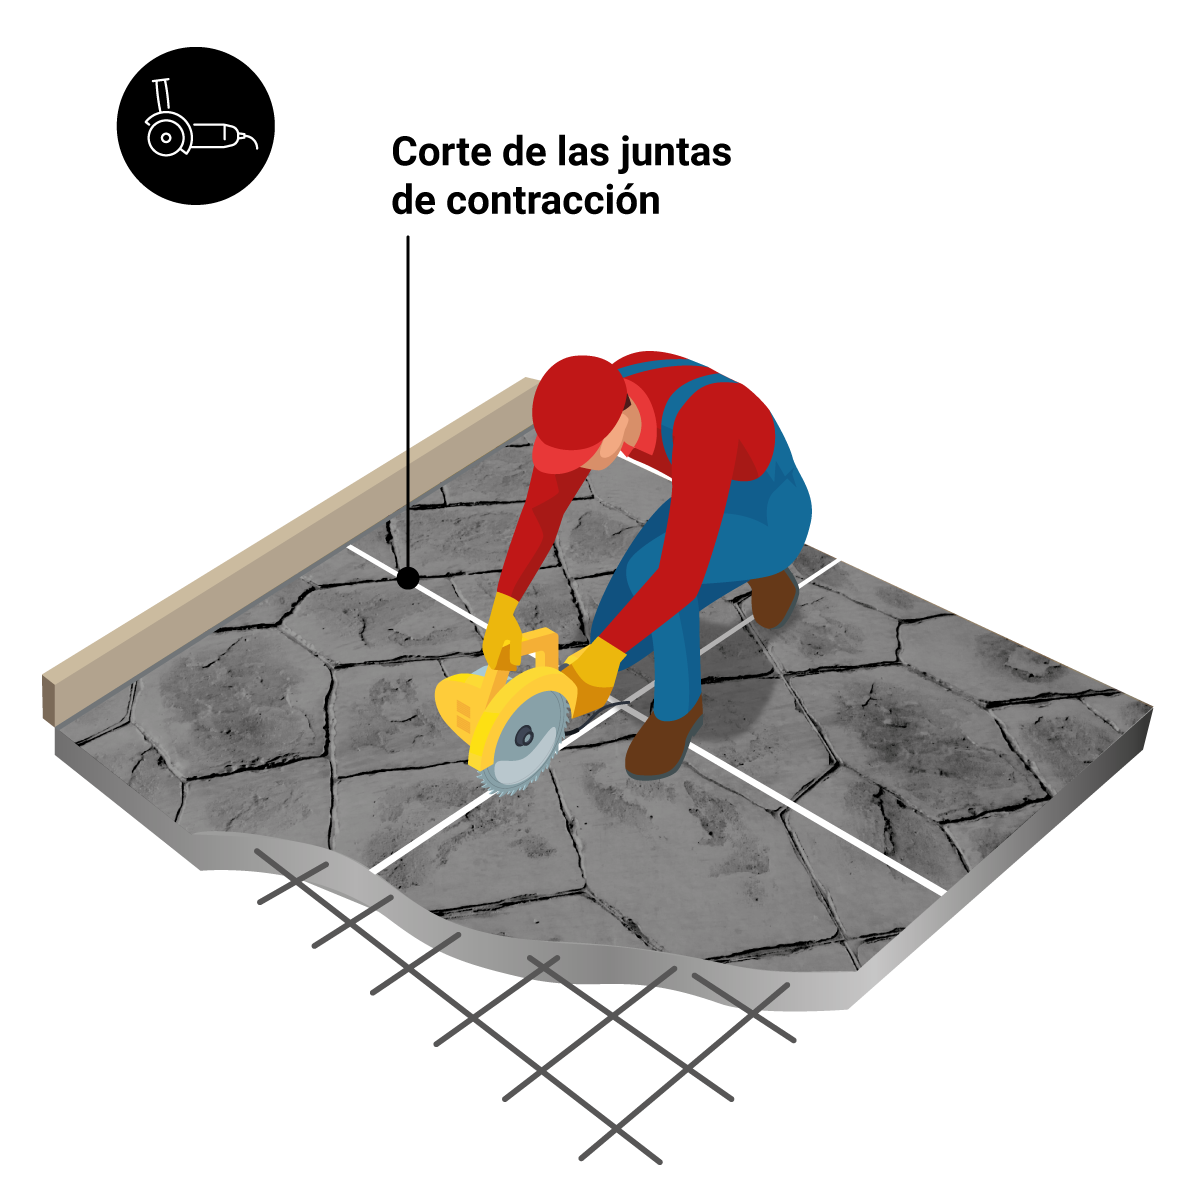
10. Remover el desmoldante para concreto estampado del pavimento
Si las juntas de dilatación no se planearon inicialmente, hacer los cortes según el proyecto y antes de las 24 horas desde su implementación. 48 horas después, como mínimo, proceder a retirar el desmoldante para concreto estampado del pavimento.
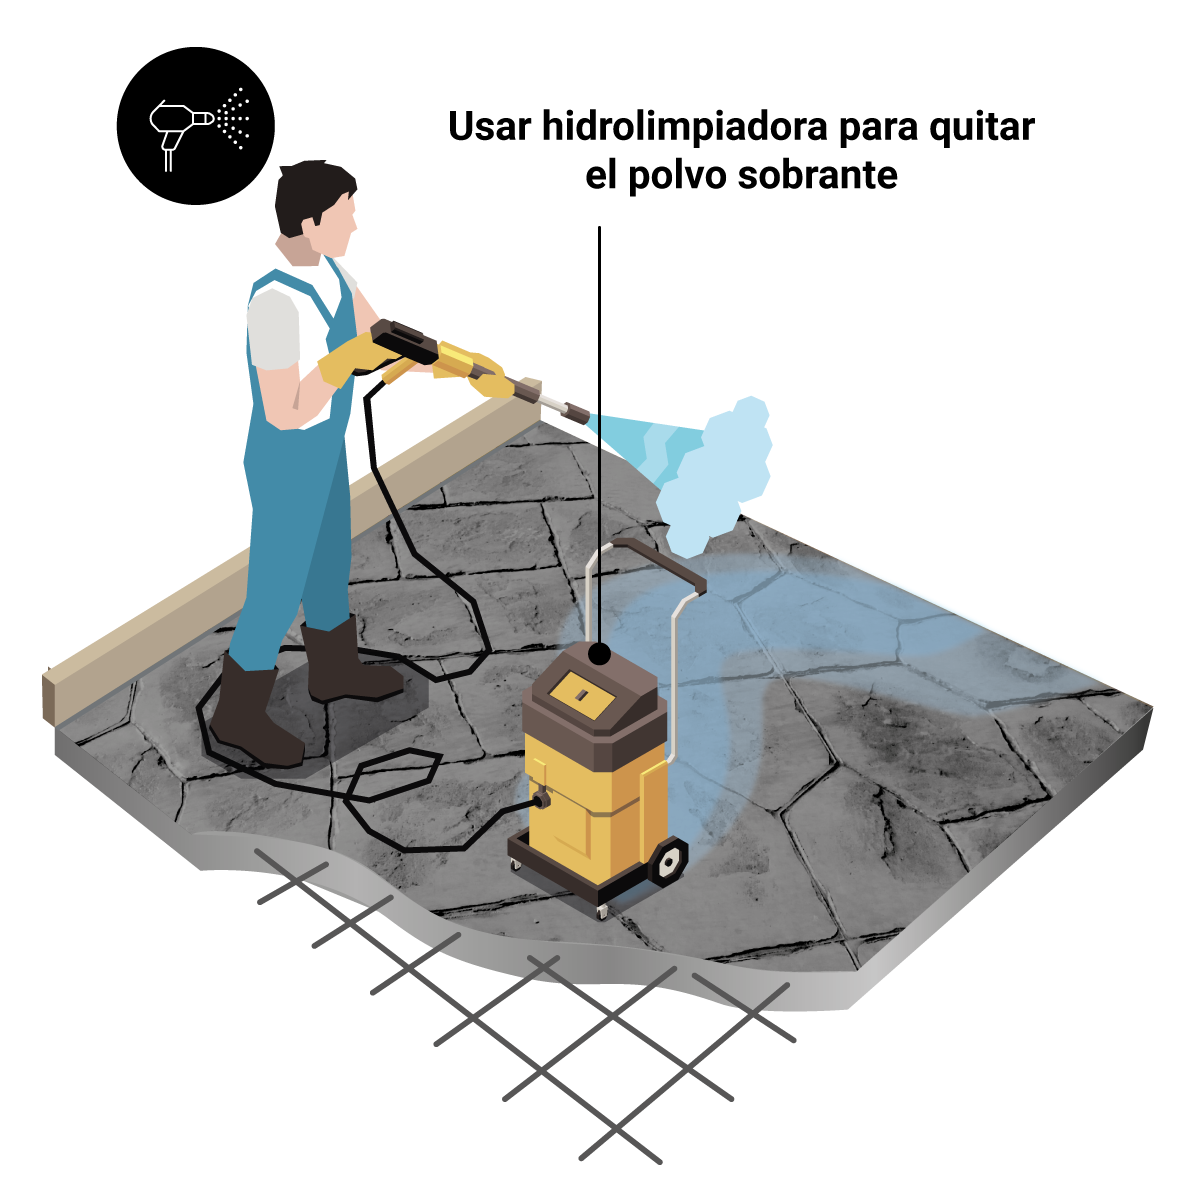
11. Limpiar el pavimento estampado
Después de 72 horas, aclara con agua la superficie tratada para remover cualquier producto sobrante y dejarlo secar. Para limpiar el pavimento estampado puedes utilizar una hidrolimpiadora con una presión de 90 bares, aplicando la pistola de agua a una distancia prudencial de 50 centímetros y boquilla en posición de abanico.
Nunca, bajo ninguna circunstancia, apliques directamente el chorro de agua sobre la superficie. En caso de que el desmoldante para concreto estampado sea Desmocem® Liquid, limpiar el pavimento estampado mediante barrido.
Recomendamos usar nuestros limpiadores Ecoclean Pro o Ecoclean Construction. Este último es muy útil para evitar eflorescencia después de aplicar Desmocem® Powder. Un detergente que remueve la cal, el salitre, las lechadas, los restos de cemento, etc. Después de su aplicación, deja que el producto actúe entre 5 y 15 minutos. Una vez que el tiempo pase, aclara el pavimento estampado con agua y déjalo secar.
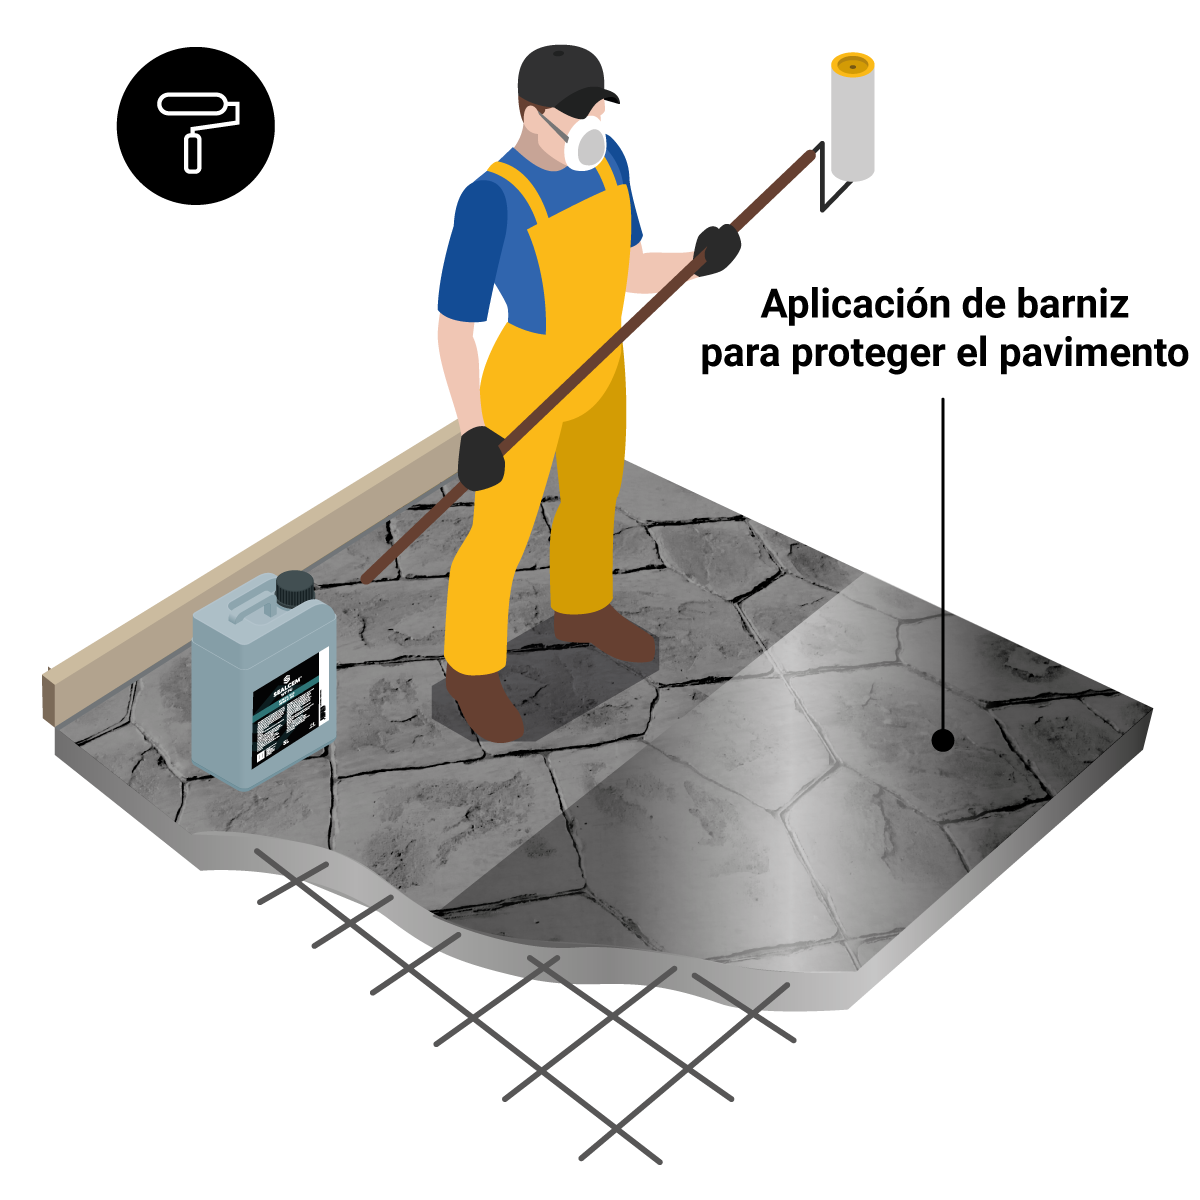
12. Aplica el barniz para proteger el pavimento estampado
El último paso para hacer concreto estampado en piso es, sin lugar a dudas, uno de los más importante. Ya que únicamente una buena protección puede asegurar la durabilidad y buen estado del pavimento. En Topciment hemos desarrollado la familia de barnices Sealcem®, donde hay barnices al agua y barnices al disolvente. La elección de un tipo u otro depende del brillo y acabado que se busque.
Una vez que el pavimento estampado esté seco, aplica dos capas de cualquiera de nuestros barnices de la familia Sealcem®. Hacerlo mediante airless, brocha o rodillo y dejar secar. Aunque nuestros barnices presentan una excelente resistencia a la intemperie, y por tanto, a las diferentes condiciones climatológicas como agua, viento y sol; recomendamos renovar el barniz.


