Application of microcement. Generalities and planning of the work
Microcement work takes an average of 4 to 6 days, taking into account drying times and the different phases. Planning is 90% of success.
Only in the hands of professionals
The application of microcement is not as easy as it seems, it must be carried out by
professionals who have mastered the system. Experience is key to leave nothing to chance. The
technician must recognise the conditions of the substrate and prepare it, know how to choose the
right microcement together with the tools and opt for one procedure or another depending on the
finish to be obtained.

Planning the work
Before starting, we must plan the work to give the application of microcement adequate time and space between the other trades. We will always leave the application of microcement to the end, except for the last coat of paint, the installation of carpentry and sanitary fittings.
Tools needed
Microcement is applied with specific tools, although they are commonly used in construction.
Carrier tape or paper with tape: to protect the areas where the microcement is not going to be applied from splashes.
Measuring jug: the use of the jug allows the quantity of resin (for two-component microcements) or water (for single-component microcements) necessary for the mixture to be dosed.
Low speed mechanical stirrer together with a double helix rod: to mix the microcement with guarantees and obtain a homogeneous mass.
Spatula: used as a support for the trowel.
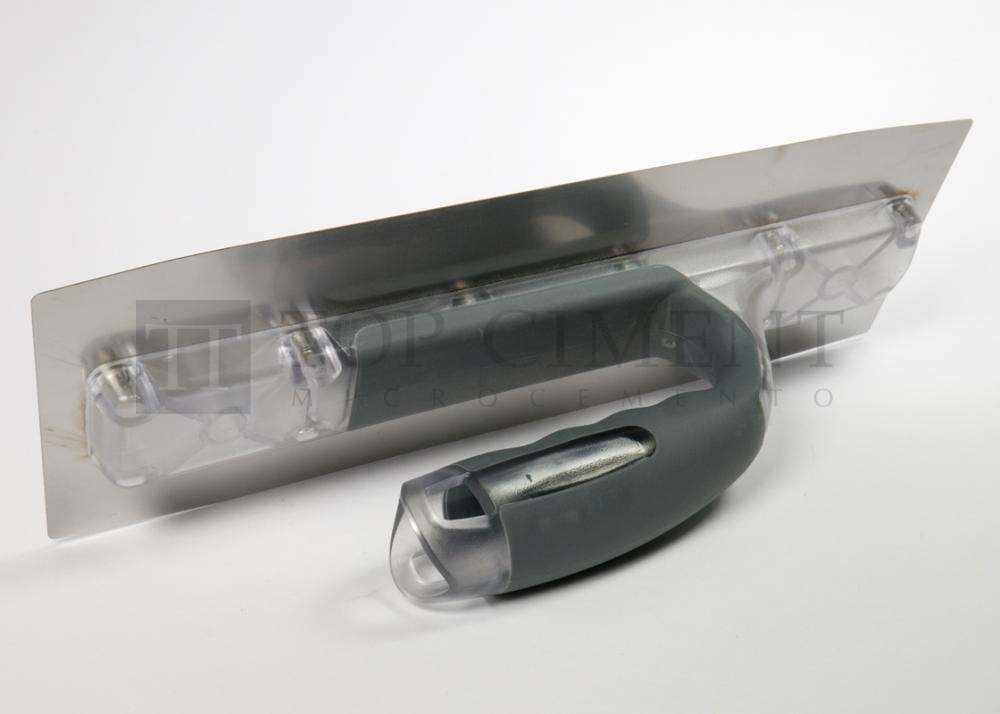
Trowel: of various types and sizes, made of flexible stainless steel or rubber depending on the material to be applied.
Industrial hoover, orbital sander, sanding glove and silicon carbide sandpaper: once the microcement is dry, the imperfections must be sanded and the dust generated must be vacuumed to continue with the process.
Rollers: are used to apply the primers, the pore filler and the application of the sealer varnishes.


